ТОП просматриваемых книг сайта:
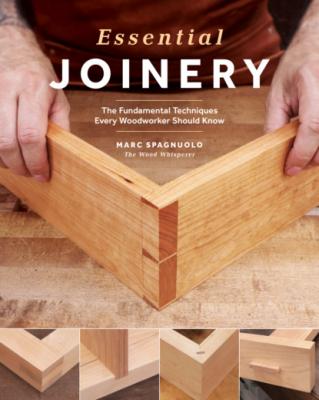
Essential Joinery. Marc Spagnuolo
Читать онлайн.Название Essential Joinery
Год выпуска 0
isbn 9781951217167
Автор произведения Marc Spagnuolo
Жанр Сделай Сам
Издательство Ingram
consider constructing a shop-made cradle. A cradle provides safe and
repeatable results.
TOOLS
Adjustable square
Drill
Countersinking drill bit
and driver
Clamps
1. You’ll need four pieces of
sheet good stock to make the
cradle. The type of sheet good
isn’t critical—MDF or plywood
are both good choices. The
dimensions are also not critical;
shown are two center pieces at
7 x 11" and sides at 8 x 16". Glue
the two center boards together
at a right angle.
2. Pilot-drill and countersink
screws to hold the center
boards together.
TIP
Countersink bits are often
too short to drill the pilot
hole fully into the adjoining piece.
I like to use a separate drill bit to
increase the depth of the pilot hole.
36
ESSENTIAL JOINERY
REINFORCING FLAT MITER JOINTS | Butt Joints
3. On the inside of the center
pieces, clearly mark the locations
of the screws to remind yourself
not to cut through them later.
4. On the side pieces, draw
two 45° lines from the center
point.
5. Pilot-drill and countersink for
screws about ⅜" inside of the
pencil lines.
3
4
5
37
ESSENTIAL JOINERY
Butt Joints | REINFORCING FLAT MITER JOINTS
6
7
8
9
6. Make a glue line on the inside
of one of the side pieces and drop
the center piece in place.
7. Clamp the center piece in
place.
8. Drive screws into the
drilled holes, making sure they’re
countersunk below the face of the
stock.
9. Apply a bead of glue to
the other side and attach it
with screws.
38
ESSENTIAL JOINERY
REINFORCING FLAT MITER JOINTS | Butt Joints
10. Turn the jig upside down
and mark the desired center
point for the key. On a ¾" piece,
this would be ⅜" in from the
inside face of the jig.
11. Use the pencil line to locate
the fence and jig relative to the
blade.
12. Depending on your screw
placement, you may want to
remove the lowest screws on the
fence side of the jig to avoid any
contact with the blade.
13. Clamp the glued-up frame
to the side of the jig with the
corner fully seated in the cradle,
raise the blade to the desired
height, and make the cut.
10
12
13
11
39
ESSENTIAL JOINERY
Butt Joints | REINFORCING FLAT MITER JOINTS
1
2
3
CUTTING + INSTALLING KEYS
Regardless of the method you use for cutting a key slot, the process
for milling and installing the key itself is the same.
TOOLS
Bandsaw
Handplane or drum sander
Clamps
Flush trim saw
Sanding block or
handplane
1. Resaw a piece of stock to just
proud of the desired thickness.
The bandsaw can leave a rough
cut, so you’ll want an opportunity
to smooth the surface while
bringing it down to the perfect
thickness.
2. Smooth the thin strip at the
workbench with a handplane.
Keep working until the piece fits
into the key slot perfectly.
3. A drum sander is a great
power tool alternative to smooth
and thickness the key stock.
40
ESSENTIAL JOINERY
REINFORCING FLAT MITER JOINTS | Butt Joints
4. The key should slide in easily
since it tends to swell once glue is
added.
5. The key stock can then be cut
into slightly oversized triangles.
The grain should be oriented so
it runs perpendicular to the miter
joint in the frame.
4
5
41
ESSENTIAL

